Sometimes We Need a Little Space
/The other day I was at the park with a friend taking our little people on a hike. We got to chatting about photography and eventually about printing. My friend mentioned how frustrating it was that when she had a digital photo printed as an 8x10” that her printed image came back cropped. I then explained to her what I will now share with you, as it inevitably will affect the way that you shoot.
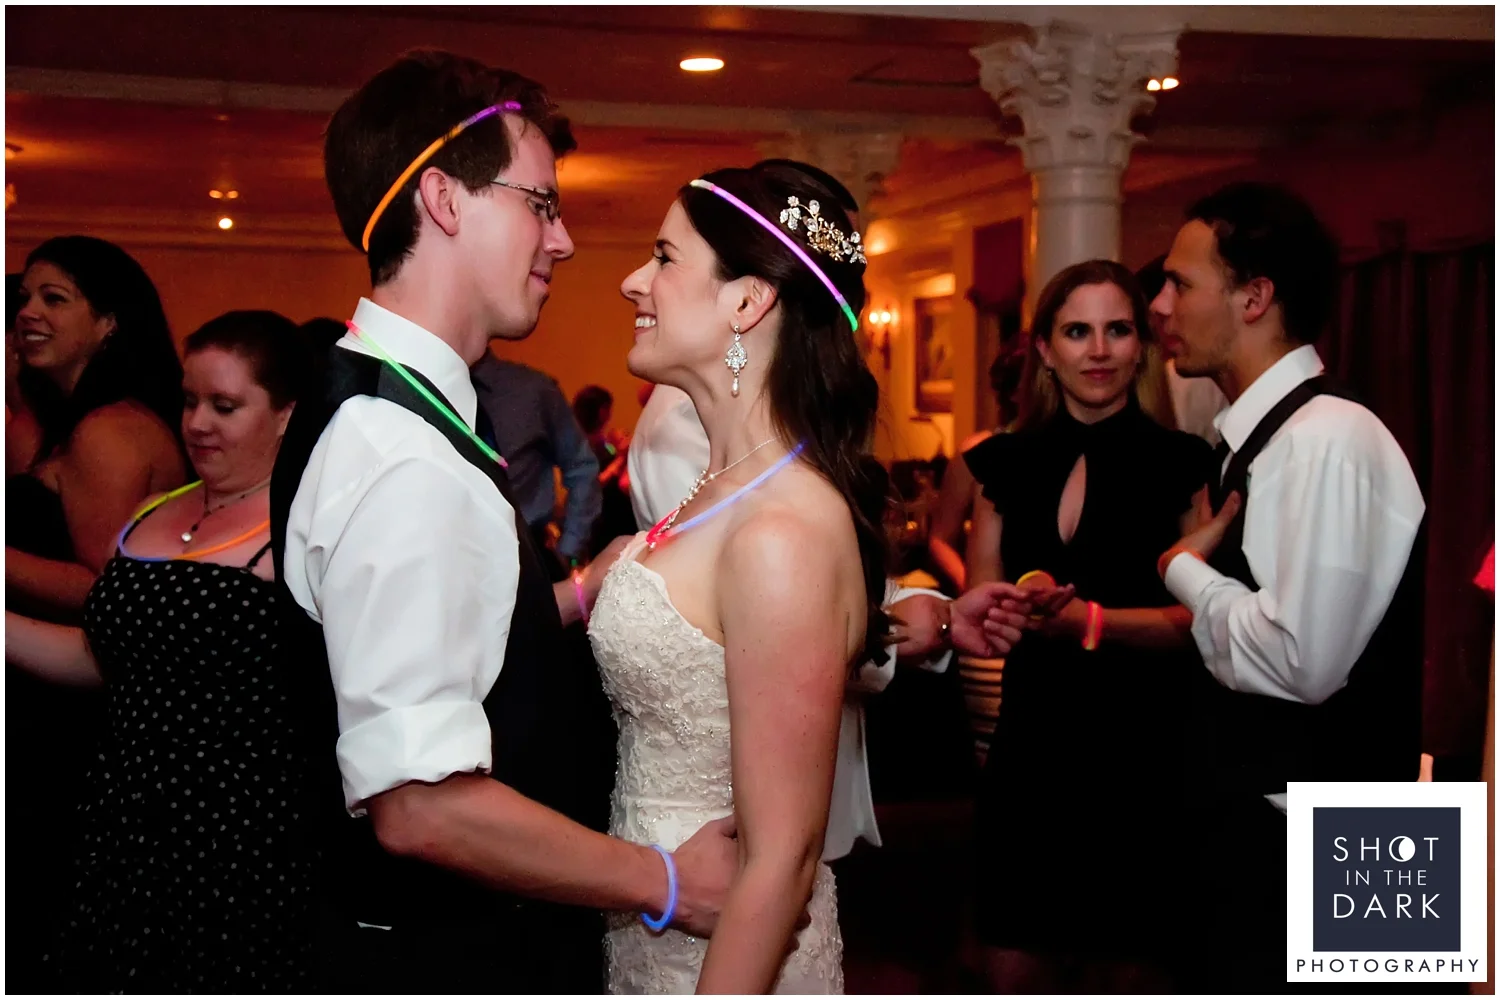
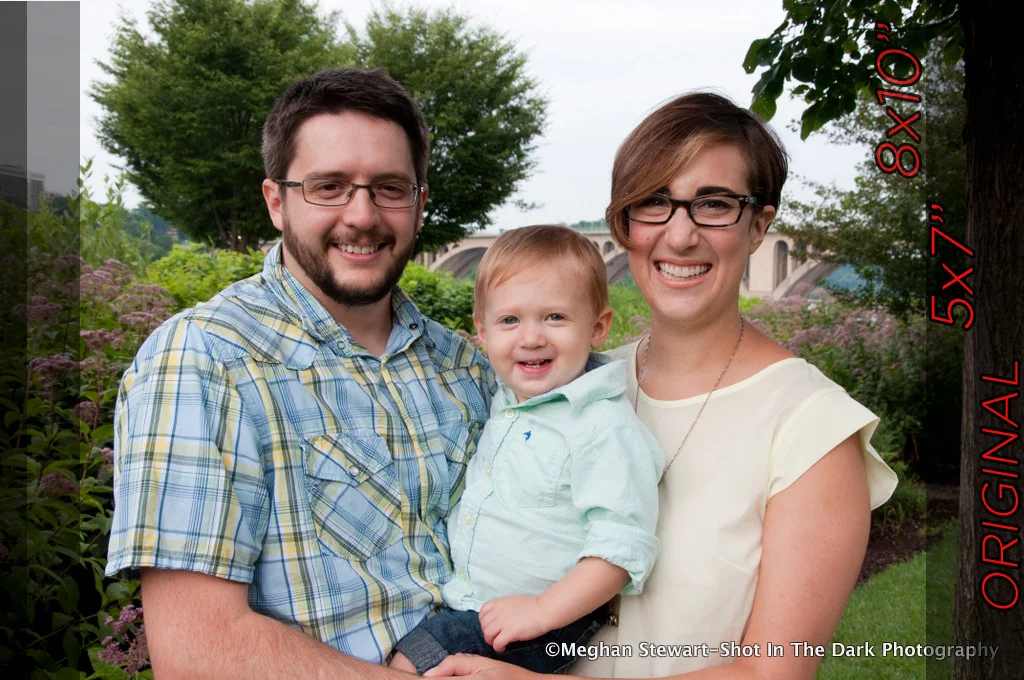
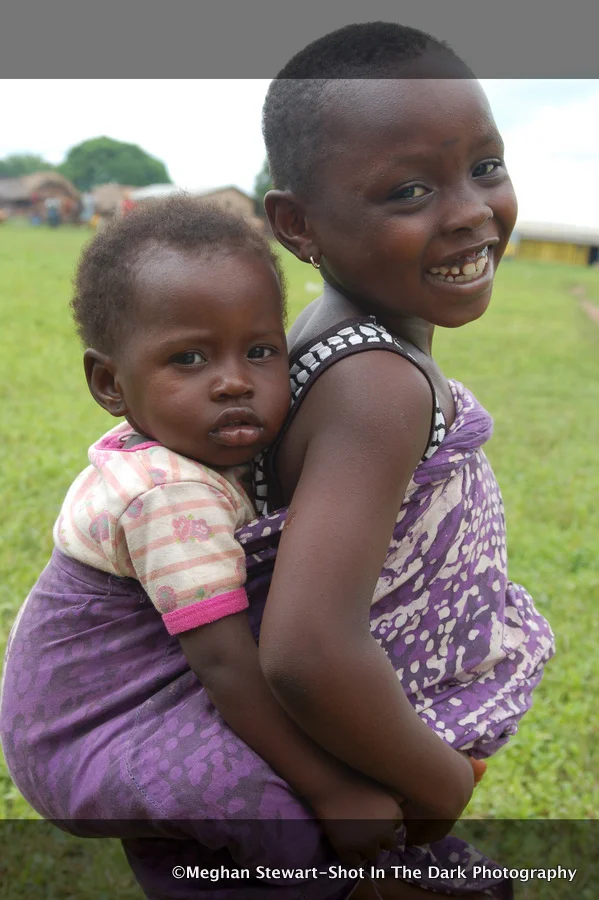
Playing it Safe Take this first photo of a portrait of a family. You can see the original image, the image if it were to be printed as a 5x7” print as well as if it were printed as an 8x10”. You can see that I left enough space around the family so that I did not crop into their faces or bodies.
Consequences of Tight Framing However, if you look at these three photos that I took during the beginning of my photography career you will see that although the original images look well spaced, that when I went to print them, that I would lose a significant portion of the photo-- thus cropping into the subject. The grayed out area shows what would be cropped from the image.
Aspect Ratios The reason that you lose your a portion of your image when you print it comes down to ratios. Most DSLR have a sensor with an aspect ratio of 3:2 which is great if you wish to print say, 4x6” which are also at a ratio of 3:2. On the contrary, an 8x10” print will be at a 4:5 ratio, which is why some of your image will be cropped.
Choose Custom Cropping When you go to print your photo most kiosks or online printers will allow you to crop your image to the size you want, and if they are good at what they do, they will inform you if your resolution is adequate for the size you wish to print. Always choose to custom crop your image. Otherwise the default will be to center crop your image automatically cropping the same amount from each side of your image and taking the control away from you.
Native Print Sizes Some sizes that will be native to your Dslr are 4x6”, 8x12” and 12x18”. Some print sizes that are not native are 5x7”, 8x10”, 12x16”.
Work Arounds But what if you have already composed your subject in a tight shot?
1) Add a Digital Border to Your Image. Although the border will not be even, it will allow you to keep the space around your image and could create an artistic look. One time I took an image into Photoshop, created a new layer, added a gaussian blur to the bottom layer and thus had all of the colors from the image in the background layer to create a nice border. If you find this is too busy, solid white or solid black are great options as well.
2) Clone Your Image. Although tedious, cloning your image can add that extra space that you may need. In Photoshop use the Clone Stamp Tool and click “alt” to select the area you wish to clone. For faces you will want to set your opacity to around 11. For a wall or grass you could use an opacity of around 60. I almost always use a soft brush. It will take some finessing but with some practice you’ll get the hang of it.
3) Change Your Print Size. Say you want to frame your image in a 12x16” frame. Take your image and print it as an 8x12” instead of an 8x10”. Although you will have to order a custom matte for your frame you will not lose any of your image.
4) Allow Three Inches. If you are planning to print your image on canvas, try to wrap the sides of the canvas in black or white. If you would like to wrap the image around the canvas then allow yourself up to 3” around to ensure you do not lose any of you image. Assuming you wish to print a 12x18” canvas, be sure to crop your image from its RAW state into a 15x21”. The convert your file to a high resolution JPEG at 300 dpi.
Lasting Tip Give yourself more space around your subject when you take your photos. Then, when you go to print you will not have to worry about aspect ratios.