Janice's Banana Nut Muffins

I will begin with telling you that these are the best muffins ever!

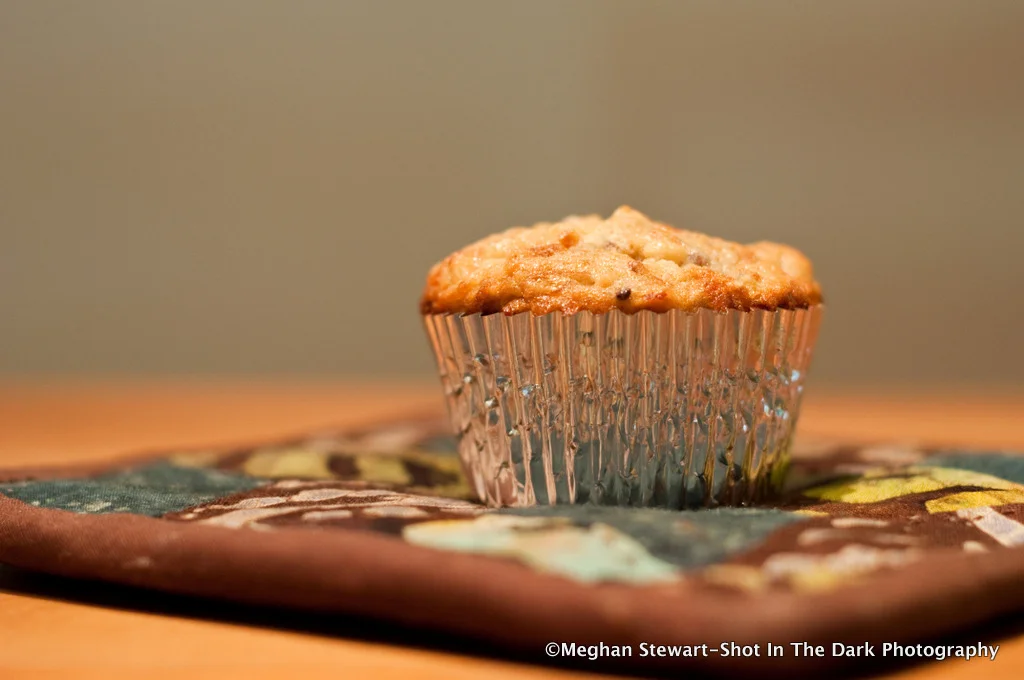
I grew up on this recipe as a kid. I would eat them fresh out of the oven warm and gooey with butter and a cool glass of milk. Snowy days of sledding and soggy snow pants coming in to sit by the wood stove. And rainy days filled with crafts, glue still sticky on our fingers. Even sunny Summer days when we would build forts and play in the pond until mud speckled our faces and clung to our clothes-- these muffins would be waiting for us.The recipe is that of one of my closest friends moms who has always been like a mom to me. She is a lovely woman and an incredible cook. She quilts the most beautiful memory pillows and personal hot pads and even made me the some hot pads (featured in the attached photo) when I moved out of my parents house.
 
I make these muffins a lot, and much to my husbands dismay am forever storing away overly ripe bananas in the freezer.
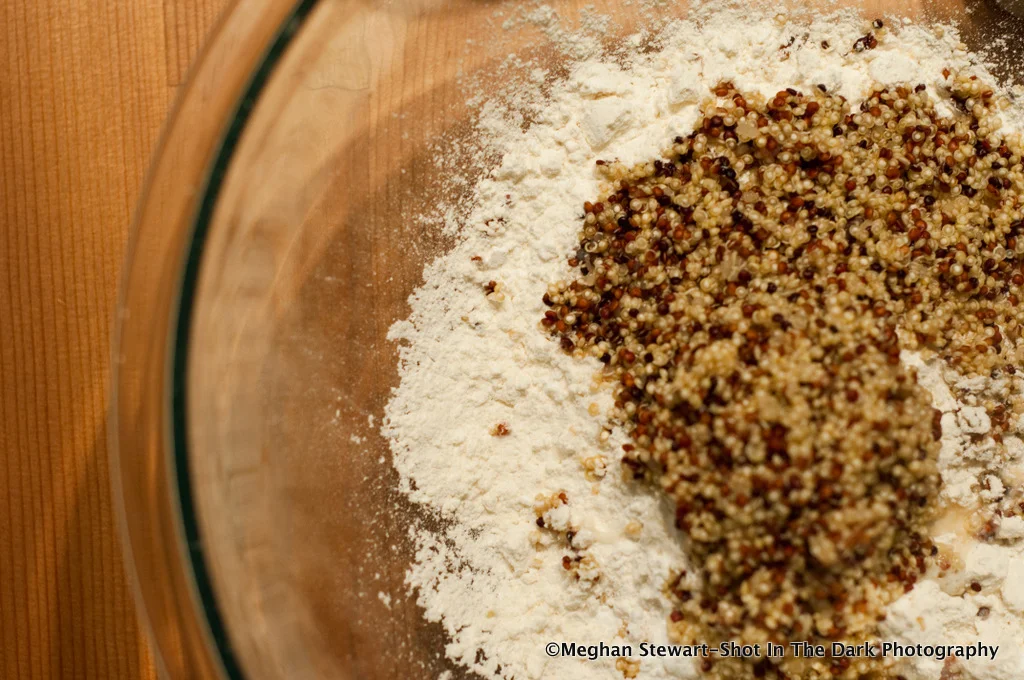
This time around I omitted the nuts and added quinoa and gluten free flour. If using quinoa you will want to cook it first. I used 1 ½ c. flour and ½ cup quinoa. I cooked the quinoa in the microwave one part quinoa to two parts water. You could also cook it on the stove.
 
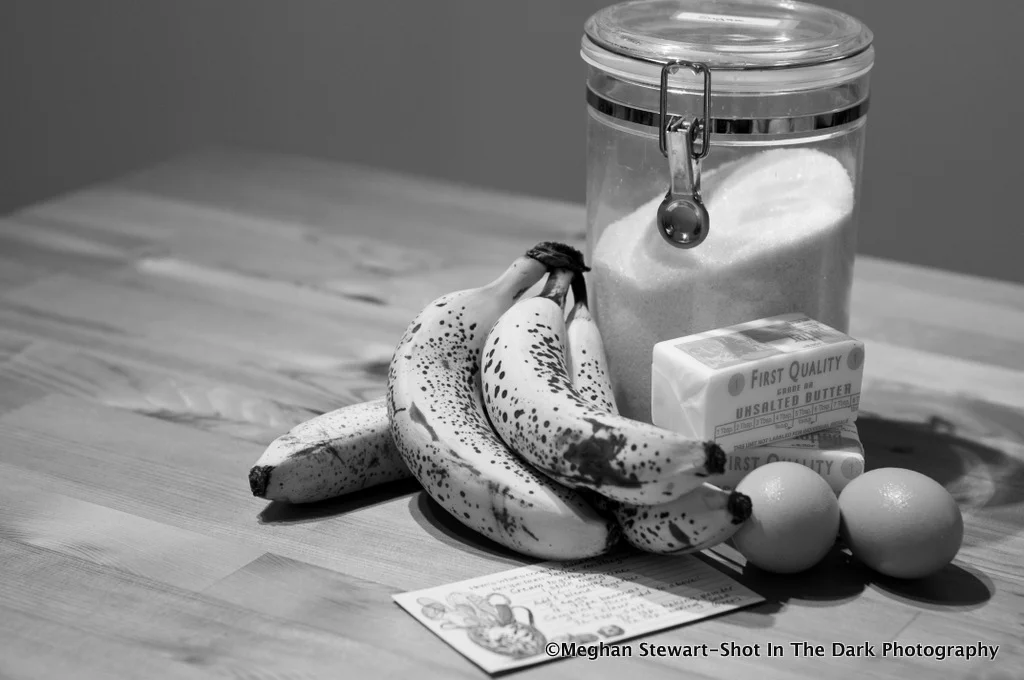
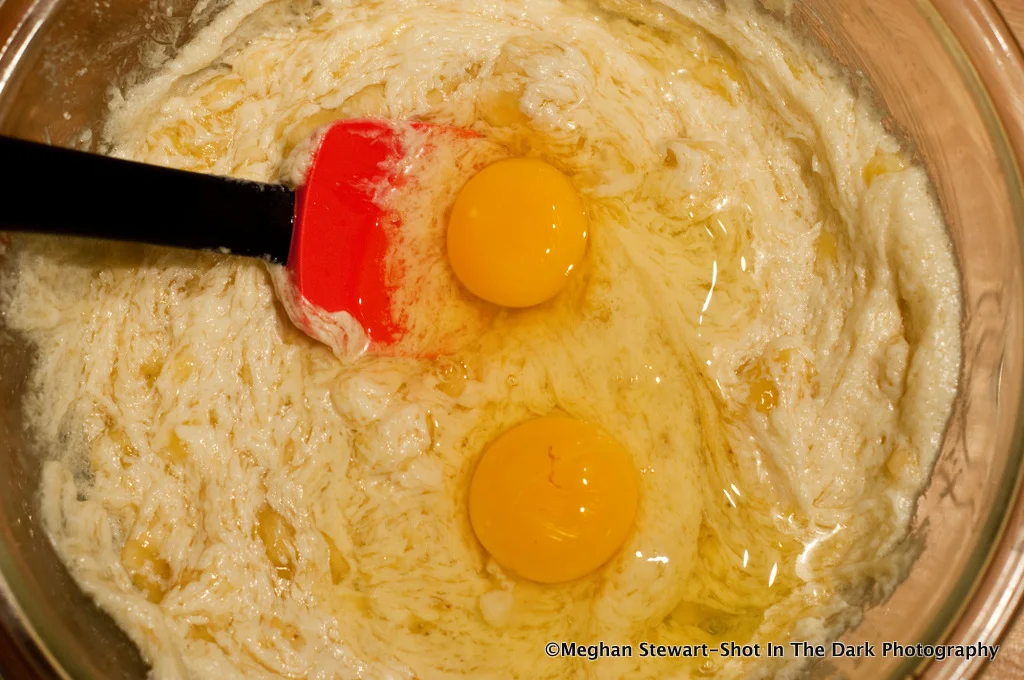
First cream together:
1 stick butter or margarine
1 c. sugar
Add and blend together:
2 eggs
4 ripe bananas

Combine and then add to above:
2 c. flour (option to add quinoa here)
½ tsp. salt
½ tsp. baking powder
½ tsp. baking soda

Add:
½-¾ c. coconut and or ½ c. chopped walnuts or pecans.
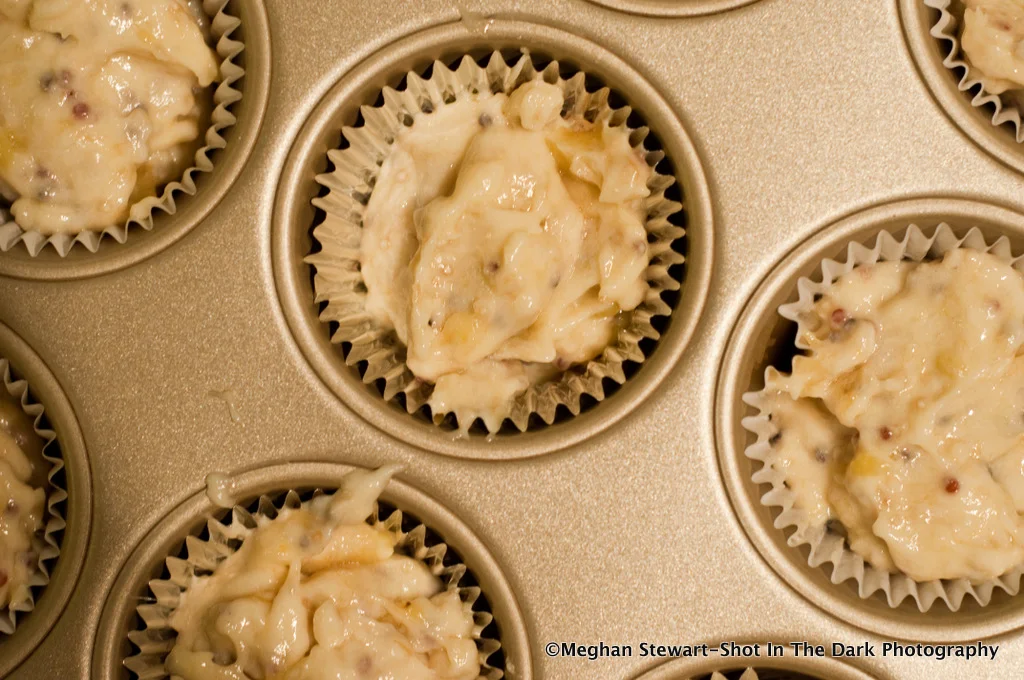
Spoon into muffin pan ⅔ full (a little more full if using gluten free flour)
Bake at 350° for 30 minutes. (Around 25 for gluten-free flour)
Makes 14-16 muffins.

If making bread, pour batter into (2) 9”x5” loaf pans. Cook at 350° for 50-60 minutes.
 As you can see Sam approves of the muffins. Every time I make these,  I am taken back to that old house on the dirt rode with the pond and the winding creek. And the women that first shared these delicious muffins with a little girl still reeling from the chill.

Organizing and Backing Up Your Photos

Maybe it is because my husband is in the disaster response industry or possibly it is because I fall somewhere on the spectrum of having O.C.D., but when it comes to my photo files, I did not want to keep all of my eggs in one basket - or files on one hard drive. For this entry, we will refer to the metaphor of laundry in one hamper. Take your laundry for example: Do you keep your dirty clothes and clean clothes together or in separate places? Assuming the answer is no, why would you keep your files in one location? Today, I wanted to share with you my file organization and backup philosophy.

Organize Chronically First, when I organize my files I do so chronologically. It all began when I was in college watching High Fidelity for the umpteenth time starring John Cusack and in one scene his character Rob Gordon is describing to Dick, played by Todd Louiso, how he organized his record collection and I had this revelation that I need to do the same with my files. High Fidelity Clip You see, many people do what Rob did and organize their files autobiographically, I know I did. I was naming files: “Eastern Market” or “Detroit Waterfront” and there is a lot of room for error there. I had been to the Detroit Eastern Market on numerous occasions with many different people during all seasons, and if I had not dated that particular time as 08_23_09_Eastern Market I would end up wasting time sifting through each folder looking for that specific event.

Dirty Socks

Dirty Socks

Dirty Socks For me it came down to order by date and within that, event type. For my business photography if you look at the attached screen shots you will see Dirty Socks-->2014-->Date of Photography_Name of Client_Type of Photography. So the whole philosophy here is: You have “Dirty Socks” (RAW Files) “Clean Socks” (Edited RAW Files) and “Laundered Files” (Edited Files that have been converted to JPEG’s) And for me one additional file that is web resolution with my watermark. Those are the images that I upload to my website. So there is an entire process that goes on here but it lends itself to efficiency. And, the naming conventions can help facilitate that process.

Clean Socks

Clean Socks

Back, Back, Back it Up So I have essentially backed up by files (3) times on one external hard drive, but that is all for naught if something happens to that external hard drive. So I have an additional hard drive that I keep a copy of all of my “Laundered Files” on. I also have a copy of the most recent “Laundered Files” on my desktop for easy access. As well as one additional external hard drive “Off Site Backup” that I not only copy my laundered files to but I also keep it at an offsite location. Then I have an additional “Disaster Backup” that I keep a copy of every file through every stage on from Dirty Socks-->Clean Socks-->Laundered Socks.

Laundered Socks

Laundered Socks

I hope that this helps you in categorizing and backing up your files. I am not saying you should backup your files in (5) different places, but if you are serious about archiving you may want to consider at least having a disaster backup. If you take away anything from this it is that if you take a lot of pictures do not solely keep them on your desktop and assume they will be safe there. If a baboon ran off with your computer tomorrow would you have any regrets about not having backed up your photos today? So organize your laundry and happy sorting!